3. Project detail view
3.4.1 Create a new input file
To add a new input file, you need to:
1. click on the relevant project record within the List of Projects
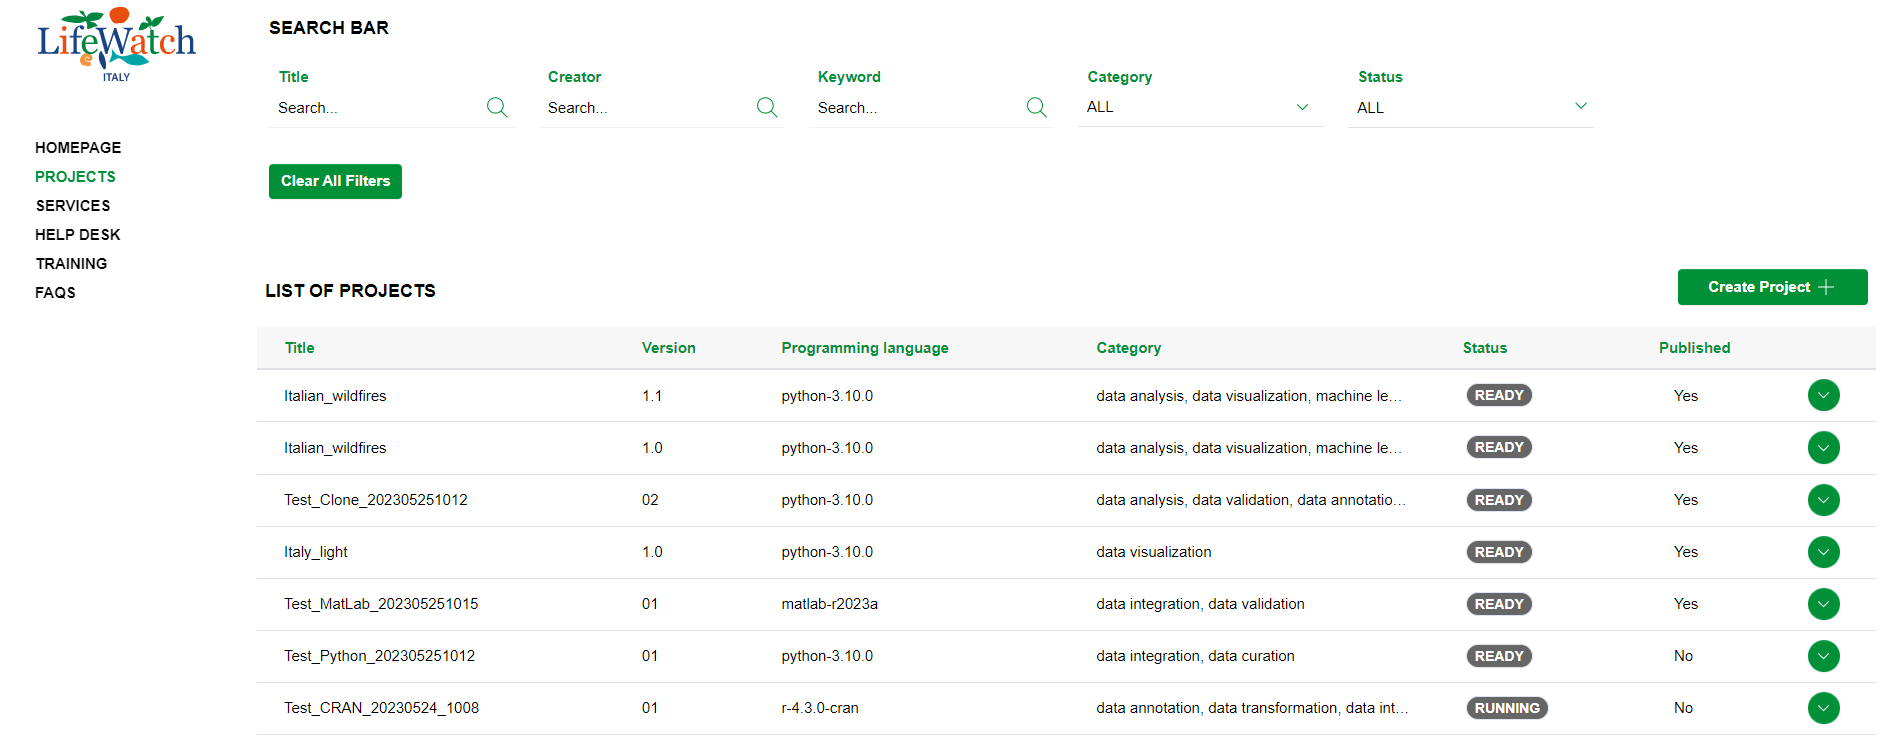
2. click on the Collapse icon to open the Input accordion
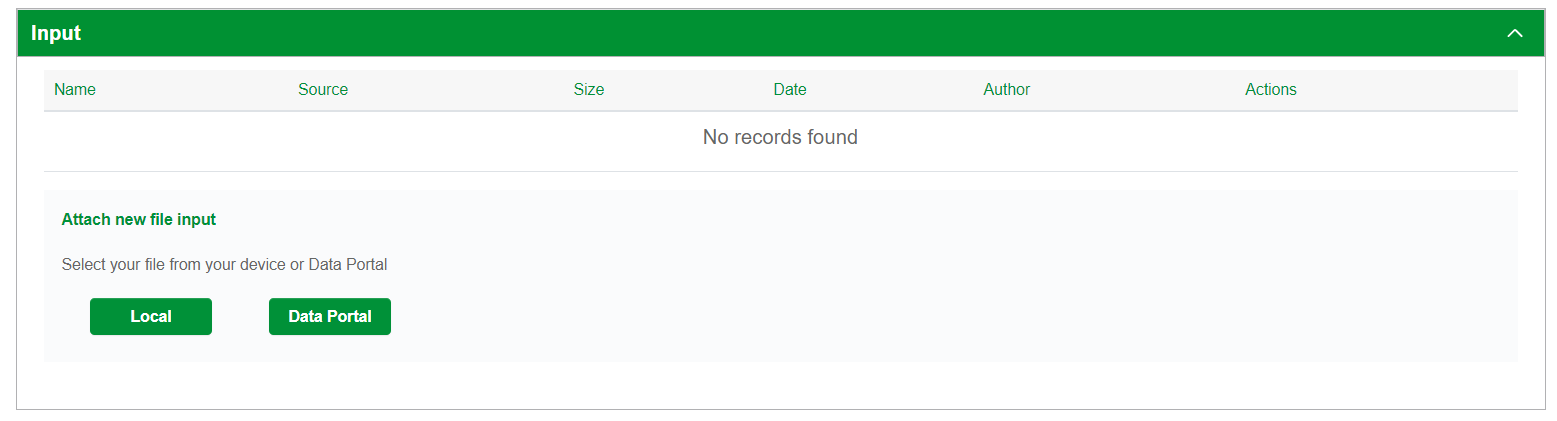
3. click on the Local button if you want to upload a file that is on your device or Data Portal button if you want to upload a file that is published and searchable within Data Portal of LifeWatch.
4. If you have selected Local upload, you have to choose from your device the file you want to upload. Otherwise you have to enter the file URL. Click on Next button to proceed.
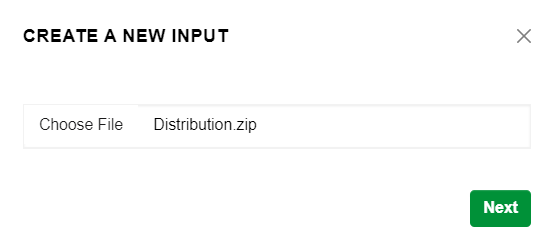
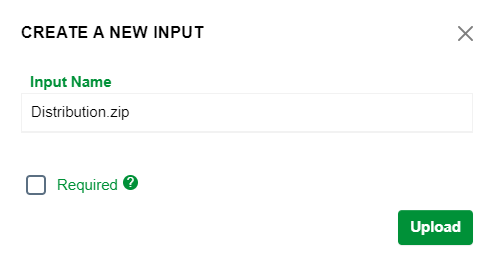
5. After click, you can modify the input name and you have to flag “Required” item if you want your input to be considered as persistent file. This means that the input you are creating will be indispensable for starting and running the script/project, that is, it will be considered as an integral part.
Please note: after the upload the input name cannot be changed.
6. Otherwise, if you have selected Data Portal upload, you have to locate an input file among those published and to select the dataset from the detail view by clicking on Select

7. You can modify the input name and you have to flag “Required” item if you want your input to be considered as persistent file. This means that the input you are creating will be indispensable for starting and running the script/project, that is, it will be considered as an integral part.

Please note: after the upload the input name cannot be changed.
Click on Upload button to complete the procedure.At the end of the procedure the system generates:
- a new input file (record), visible within the input accordion
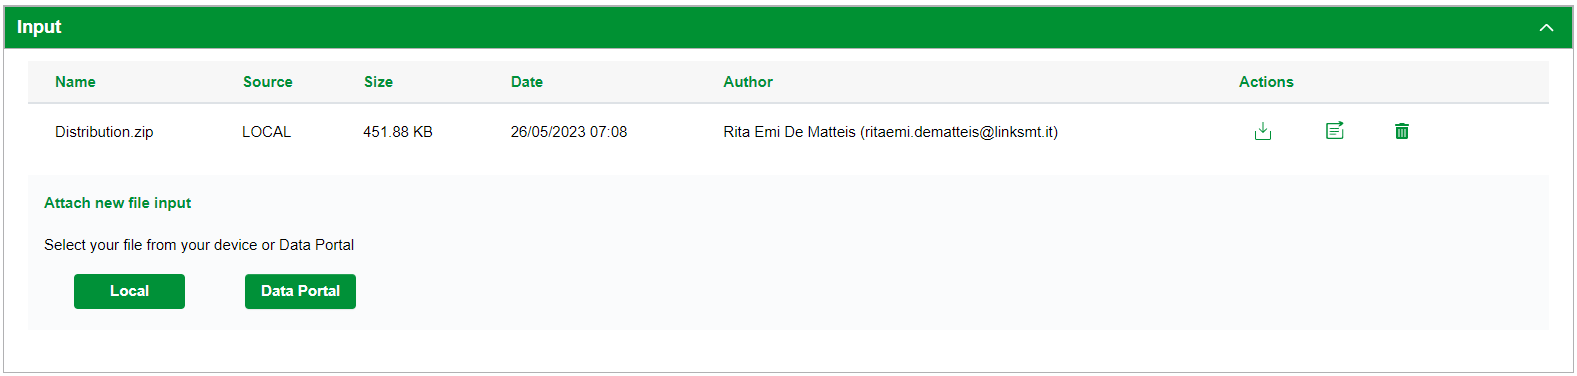
- a new file available within the relevant folder into the Jupyter environment.